|
|
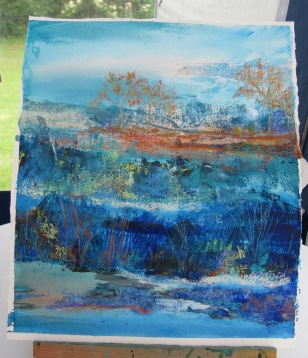
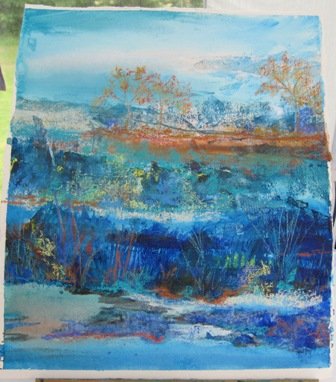
Step-by-step instructions to create a 'Field Painting'.This is a clear and concise set of instructions to create your very own mixed media Field Painting. I suggest you read the instructions through carefully before you start...Have Fun!!!
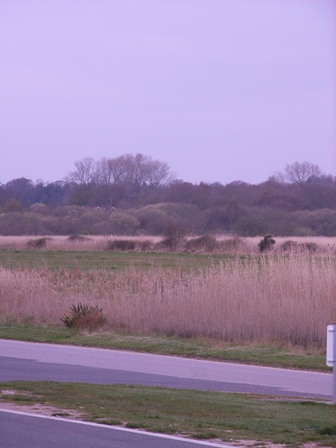
1. Choose your source material. This could be a photograph or sketch. I chose the field image above as it is full of fabulous texture and interest.
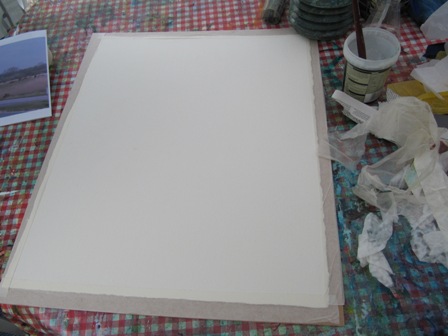
2. Decide the size you wish to paint and if it is going to be landscape or portrait. My painting was portrait but with only a 10cm difference between the two dimensions.
3. Choose your surface to work on. I used watercolour paper, Saunders Waterford 300lb rough.
4. Secure your paper to a base board. I find this very helpful for when I wish to work using a table easel, to create runs, for example.
5. Decide on your colour palette --- realistic or personal interpretation. My choice was to do mainly blues with use of complementary colours to create impact, interest and contrast.
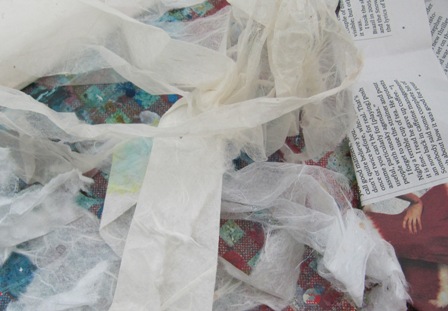
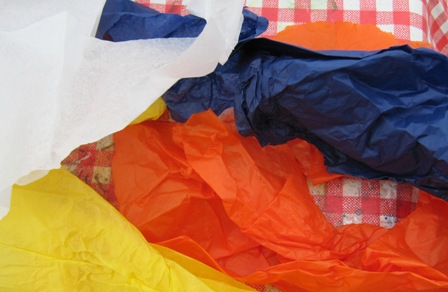
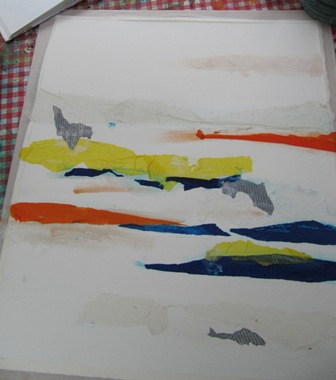
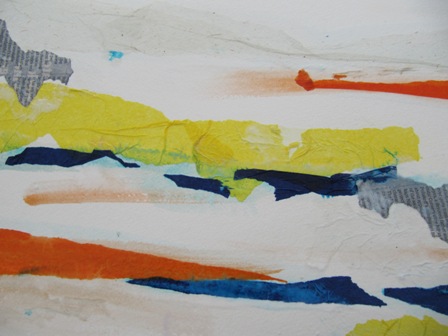
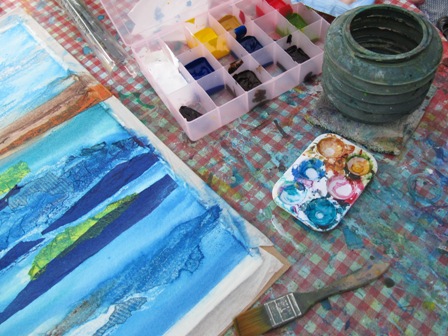
6. Select some collage materials, tissue paper - coloured and white, newspaper and handmade textured papers.
7. Start gluing on your collage paper, using diluted PVA glue. ( The consistency of single cream.)
8. I start my collage with the darks, slowly building appropriate texture and interest as required, remember to look at your field painting photo as guidance. Remember to glue the base surface but also over the top of the collage material, it sticks best like this.
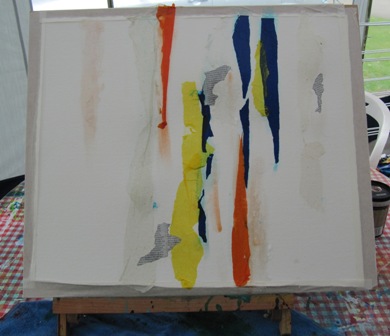
9. Carefully stick the various papers down. Crumple up the tissue paper and open it - this creates creases and ridges. Leave plenty of the original surface free as this helps to add to the contrasts. I always try to use a particular colour or paper texture more than once in the painting as this helps create a sense of cohesion. Dry completely - a hairdryer is most helpful.
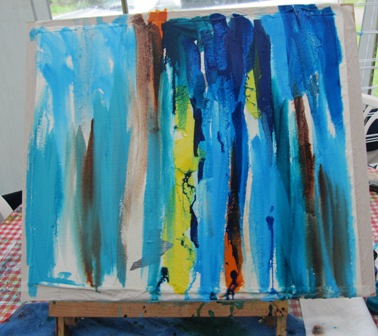
10. Put your painting on a table easel. Make sure your work area is covered and nothing precious is going to get messy. At this point I work at an almost upright angle. I put the painting sideways as I wanted the runs across the painting and not top to bottom. Look at your field painting photo, are there bands of colour running in a certain direction?
Choose your acrylic ink colours. I worked with :
Rowney Blue
Marine Blue
Turquoise
Process Cyan
Burnt Umber I knew these colours would create a strong blue/turquoise base with the burnt umber adding a softness. Remember this is only your background and later on you can decide how much you preserve or paint over.
11. Spray the surface of your painting, with water, until it is running. Working very quickly apply the inks in confident brush strokes and blocks. It is fine for some of the white paper to show through.
12. Spray with water to create runs and fantastic mixes. Carefully judge when you are happy with the results and then quickly lay the painting flat.
13. Allow to dry.
14. Decide if you are happiest working flat or angled using an easel. ( I worked with the painting flat.)
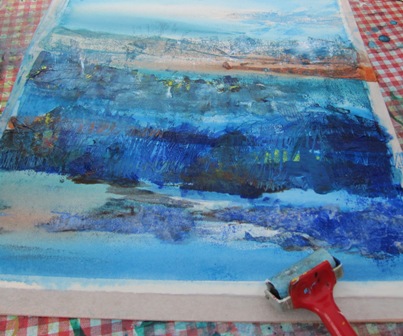
15. Using a flat, square brush, I used a 1" Rosemary, and also a roller apply medium body acrylic paint to define the shapes and areas of light and dark. You may decide to work 'impasto' in areas, scratching into thicker areas of the paint - use the end of your paintbrush or a palette knife- this creates interesting textural effects. Have another glance at your field painting photo if it helps.
16. Work carefully, deciding as you go which areas of the background you wish to keep. Build up darks against lights and vice versa. Remember to keep some areas less busy so there are places for the eye to rest.
17. I used the roller in quite a few places as this helped to create fantastic colour blends and cohesion over the painting.
18. Allow it to dry completely.
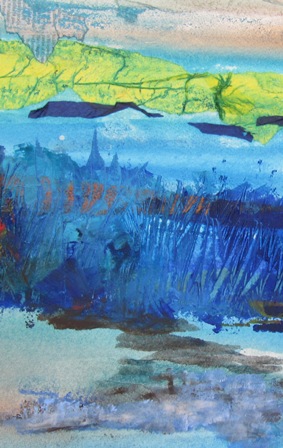
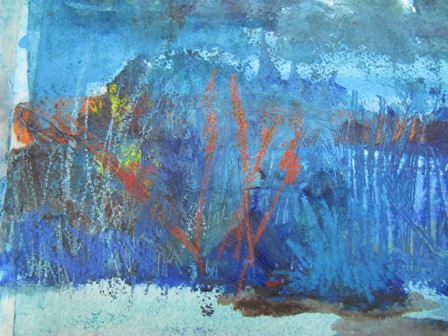
19. I added marks to represent grasses and areas of shadow with Neocolour II. This could also be achieved with acrylic paints.
20. Continue working with your acrylics or some soft pastels. At this final stage you are defining areas such as the trees on the horizon. Remember to work in some complementary colors to create excitement and to help your painting be striking.
Put your painting up so you can view it. Then step back and have a good look, develop any areas you are unhappy with. You may wish to refer back to your field painting photo but I would expect you have moved away from this original source quite significantly. Great work and well done on a lovely painting!
|
